 I loved this piece when I saw it and thought right away that I could convert it for my machine. This was $15 at Savers!! When I got it home I changed my mind, thinking maybe I could use this machine to help Grace learn how to sew.
  We found out the machine didn’t work great so we took it out. I love the color of this machine and it became the inspiration for something else (I will show you later). My machine won’t store in this cabinet but we can slightly alter it so I can put it in and have a flat surface while sewing.
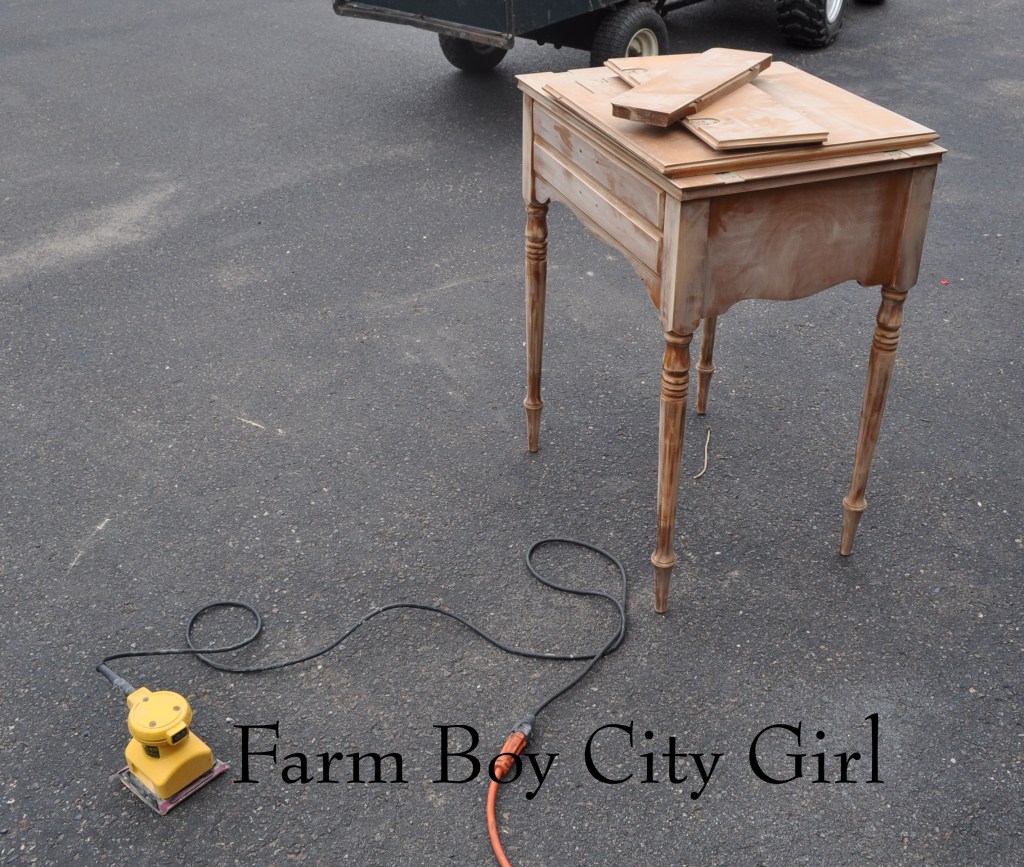
I Started with 180 grit sandpaper because the finish on this was not tough and was easy to rough up. If it had a really thick varnish on it I would use 80 or 100 grit.
After sanding the whole piece I used a damp cloth to remove all the dust.
I used a spray primer for the base. If you don’t have one of these spray nozzles for aerosol cans they are a must!  You will save your finger. I am a KILZ fan but I do have to say it gives a bit of a grit. I have read that KILZ works well if you don’t sand prior to the primer (I do not suggest this) but it needs a good sanding after you apply it. Just make sure it’s a primer and a sealer.
For this piece I used Rust Oleum Painters Touch black paint – using a brush. I applied very thin coats and ended up doing about six (here is what my first coat looked like). I did sand after every other coat with a very fine sandpaper – I think it was 400 grit. If I ran my hand across the finish and it felt at all rough I sanded.
Wait at least 3-4 days before putting any objects on it and 5 days is even better.
If you really want to protect the finish you can use a polycrylic protective finish. Mixwax has a great one but I did not use it on this piece. A kitchen table or piece that gets a lot of use would really need this.
Here is the after.  I love how it turned out. I did spray the hardware with a silver metallic spray paint and then brushed some watered down black paint over that to give it a worn look. Now I just need to start sewing.

Leave a reply to My Old Wicker Chairs | Farm Boy City Girl Cancel reply