 I am very excited for this post! I am so proud of Farm Boy and how talented he is. It seriously amazes me that I can show him a picture of something, find something similar that I think can be transformed, and poof somehow he does it.
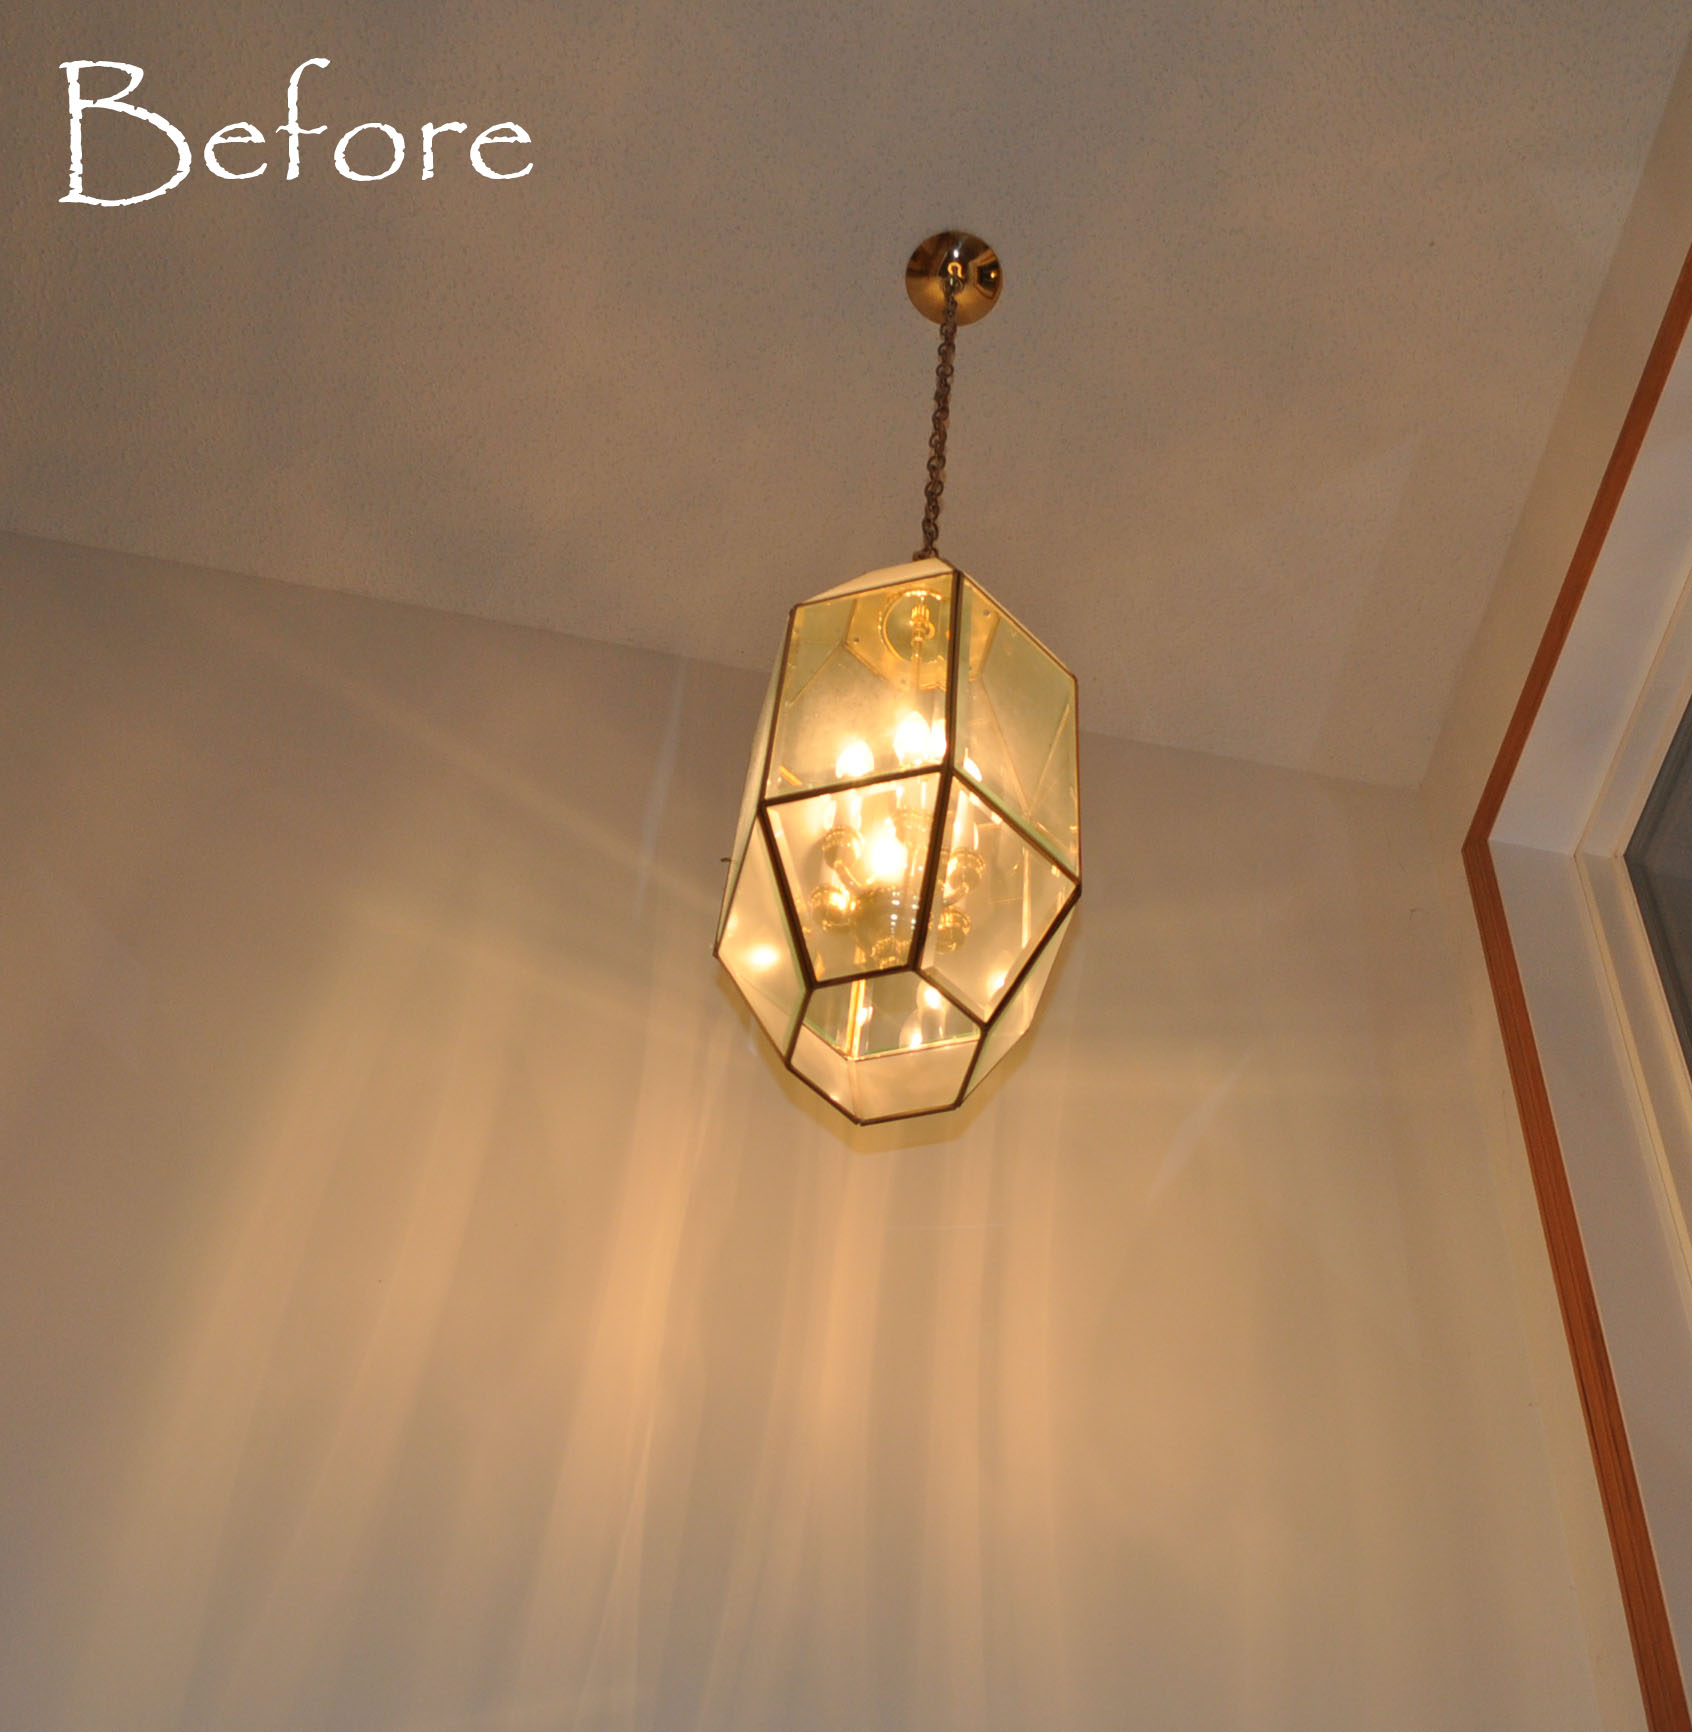
Currently we are helping a friend with outdated fixtures and trying to spend as little money as we can. There was this ugly gold fixture hanging in the stairway and you can see it from the street in the large front window…gross.
 Also in the dinning room there was this large chandelier (sorry I didn’t take a picture while it was hanging).
 Now, I am not going to totally badmouth gold, I actually like it but it really needs to be in the right house.
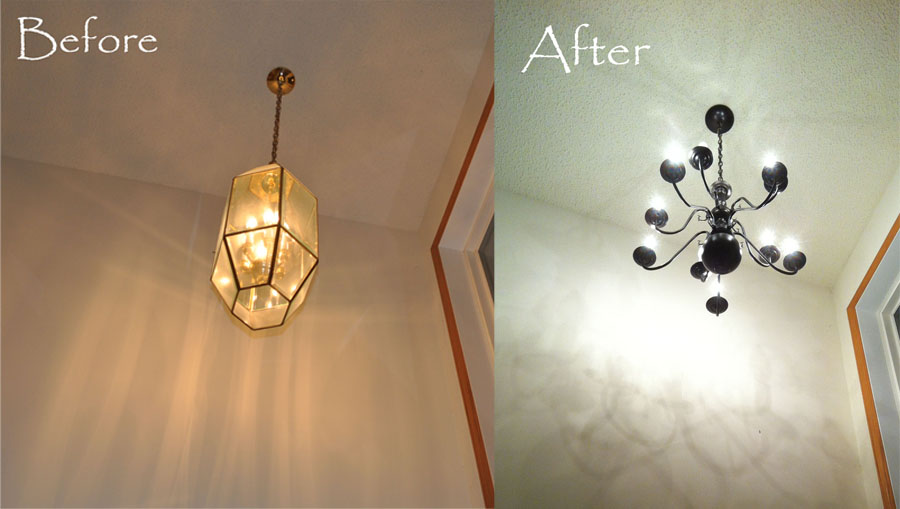
So here was my bright idea! Take the chandelier from the dinning room, paint it oil rubbed bronze, take the ugly front fixture, tear it apart and make a small drum shade chandelier. Deep breath.
So here is the chandelier in its new place. Gorgeous. I just wanted to show you the before and after of this space – just changing out the fixtures made a huge difference. You don’t always need to buy new things – just move them around.
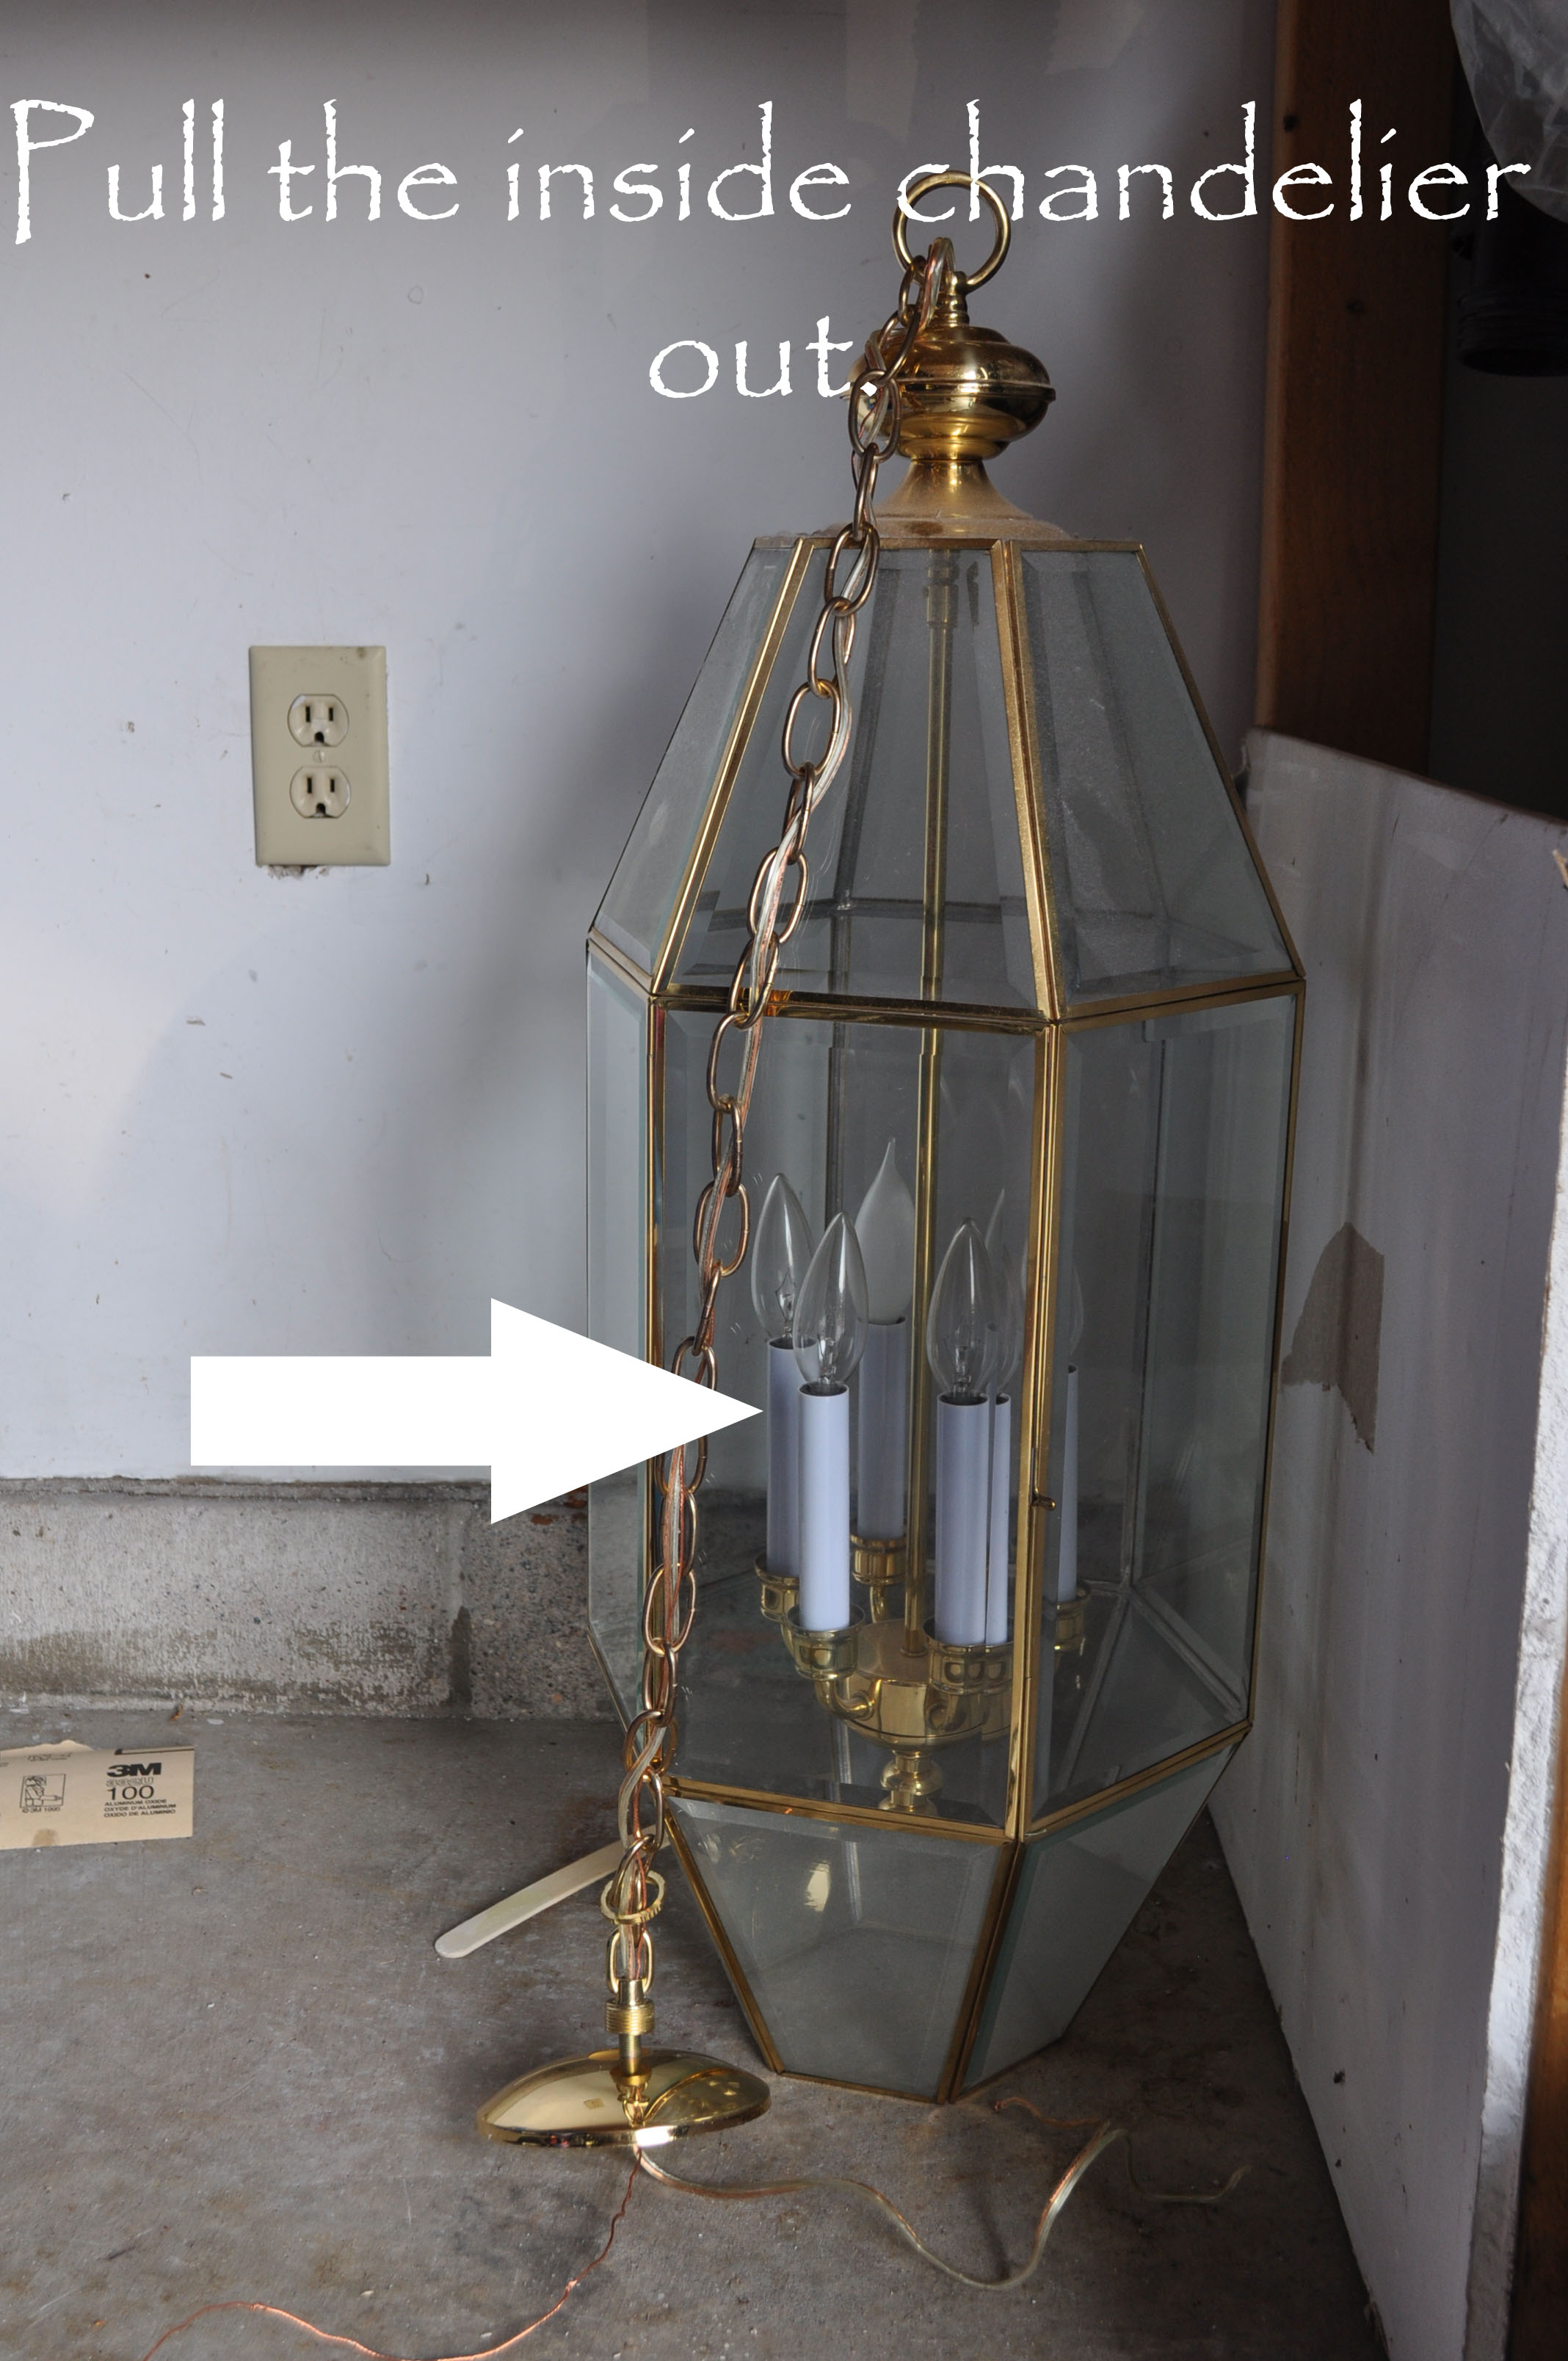
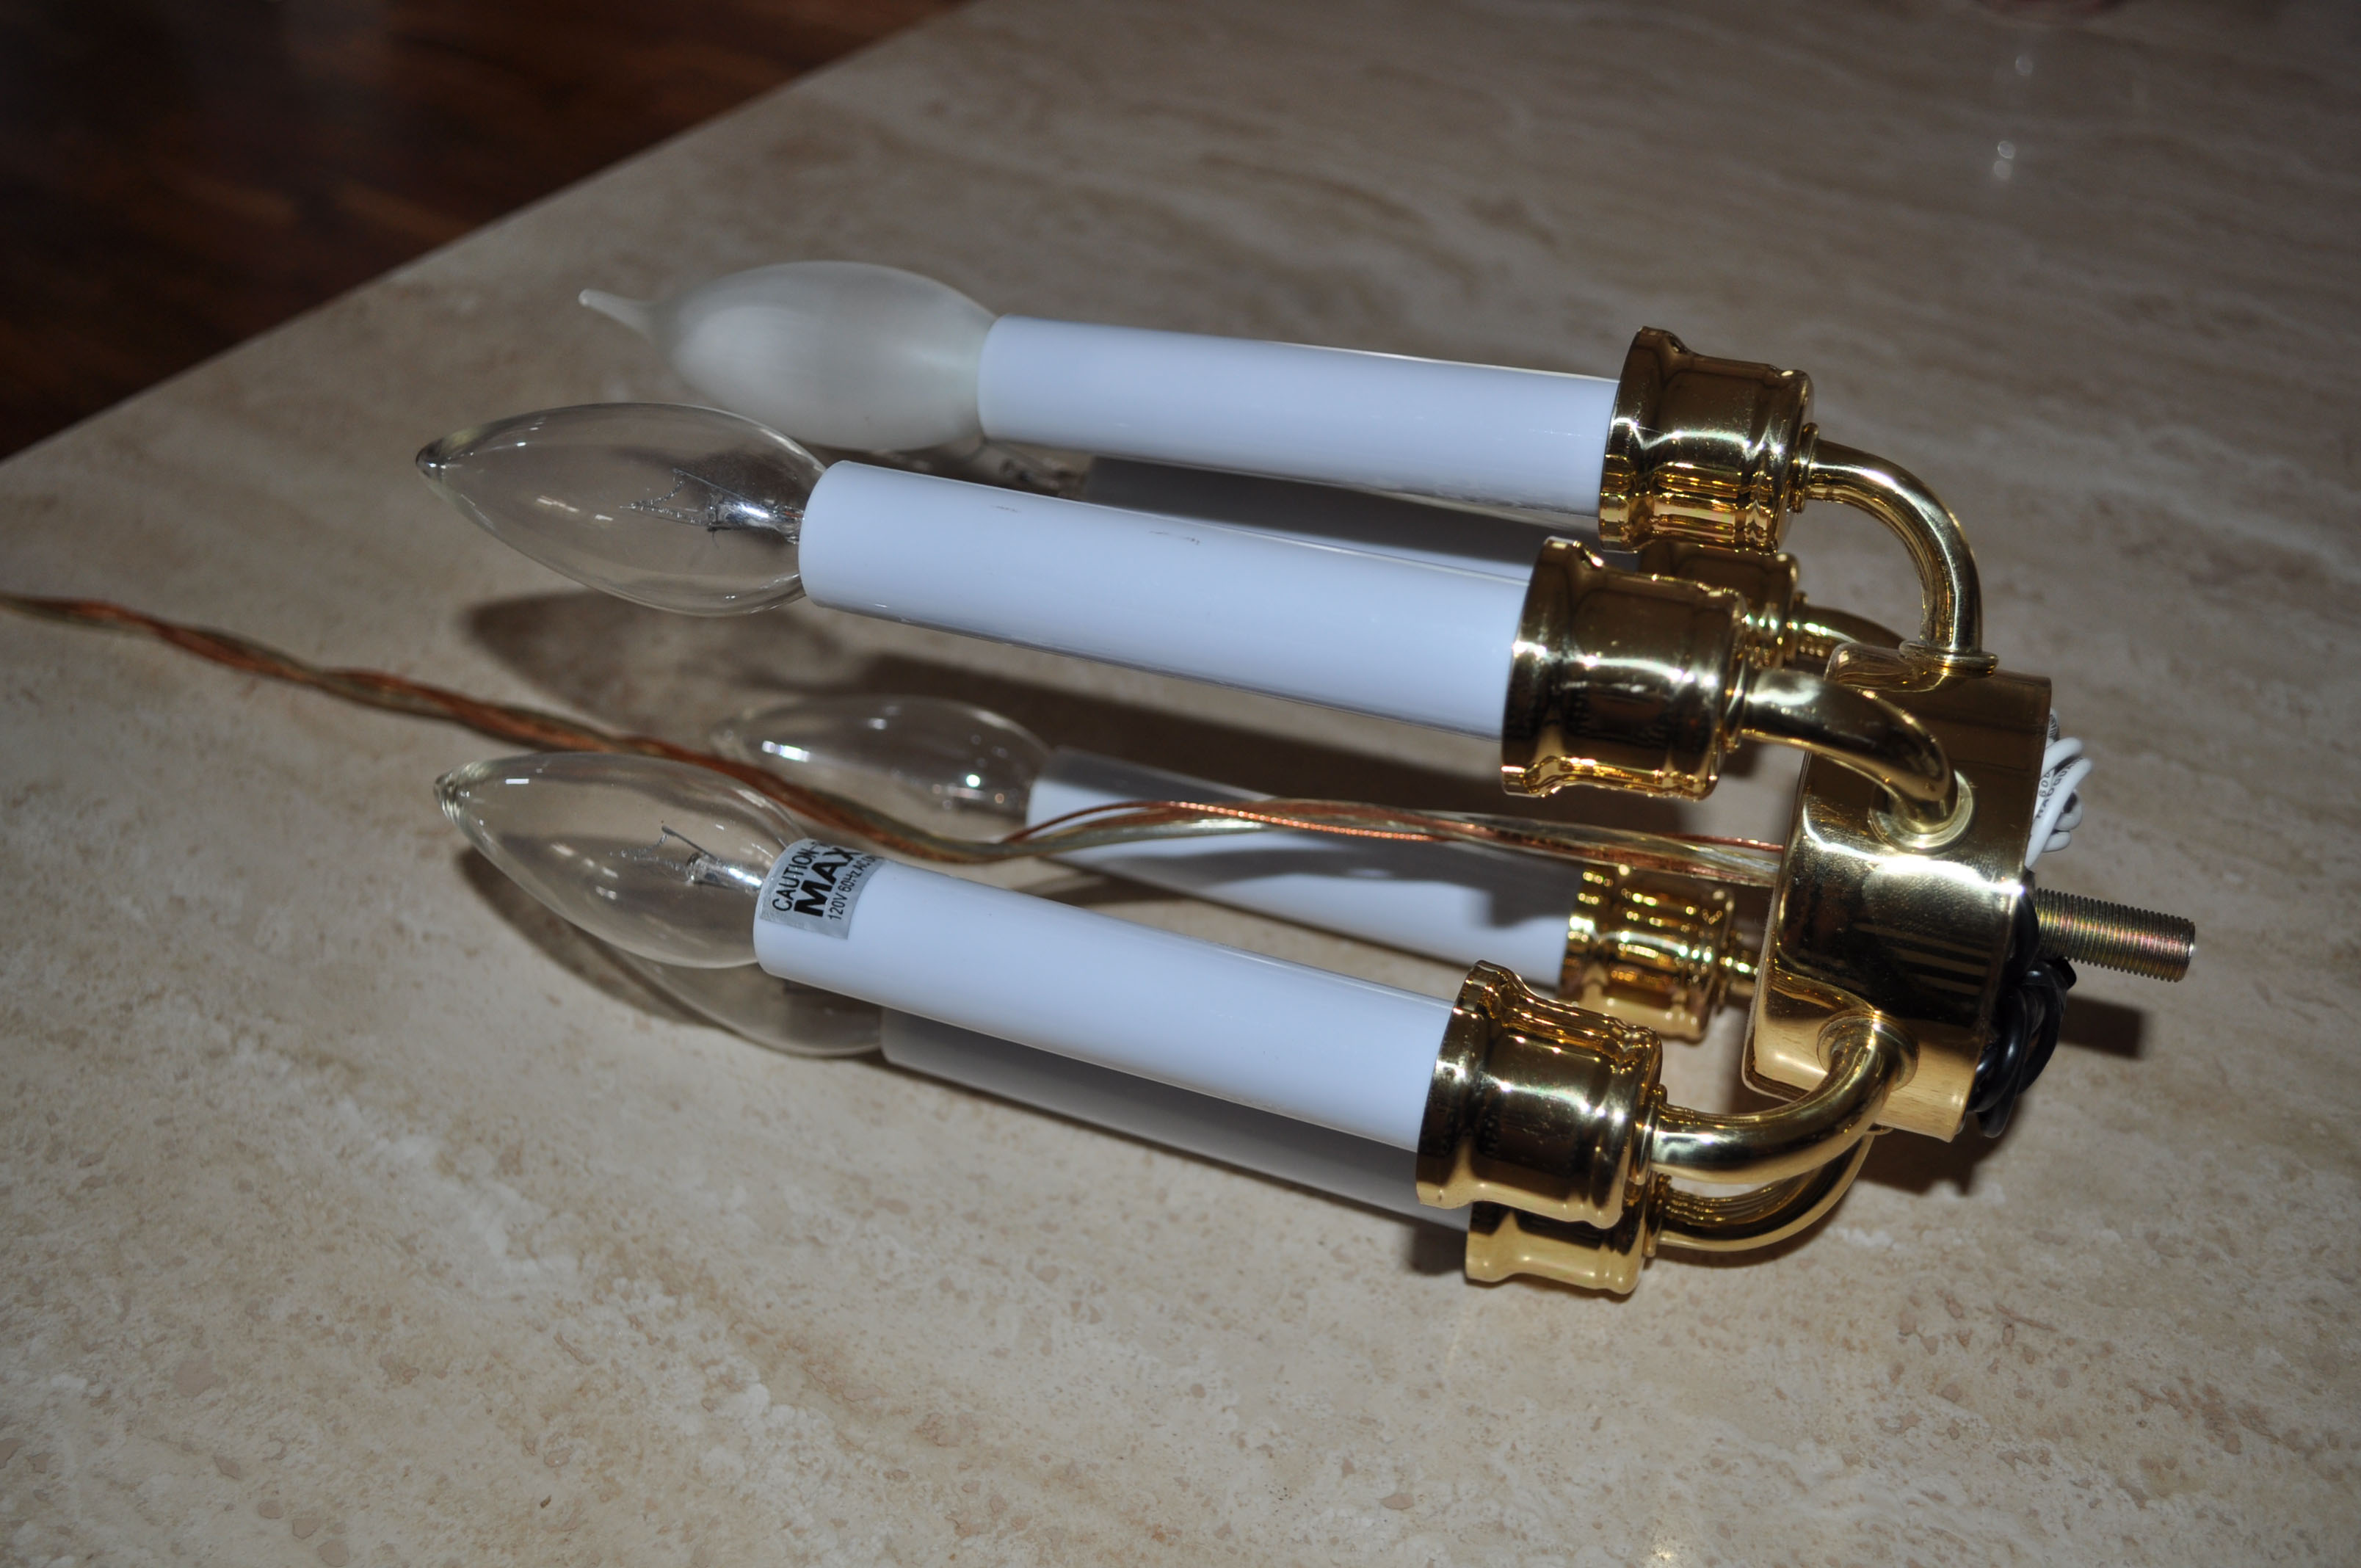
 Ok…on to the tear apart. We took apart the top and pulled the chandelier out the bottom.
 The rod was very long so it needed to all be taken apart and cut down.
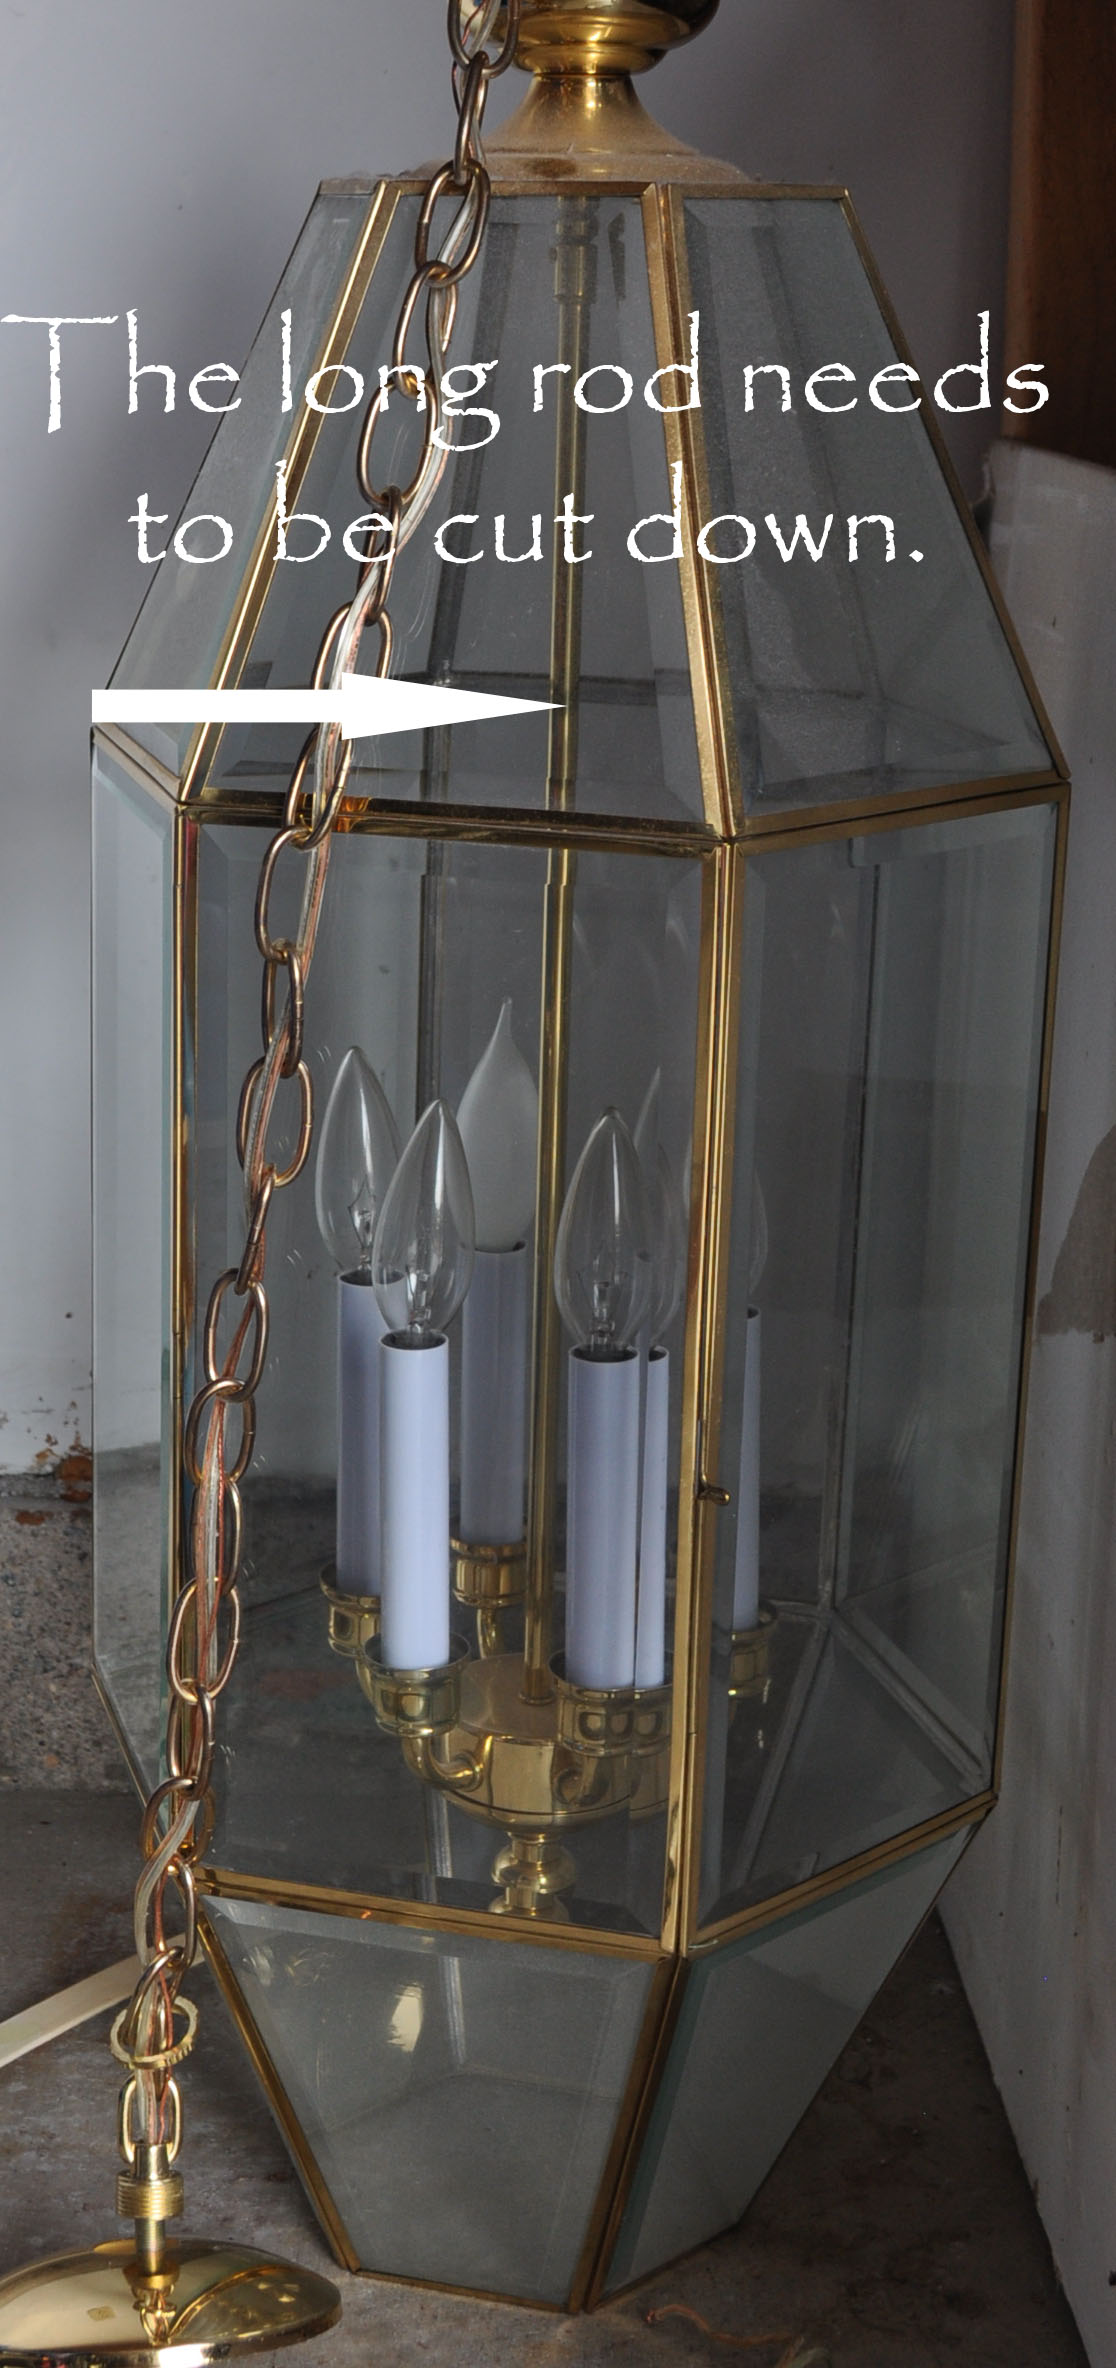 The inside part looked like this. Farm Boy said he never noticed this small chandelier inside that large
 ugly glass shell – that’s why he has me right? Remember I am the visionary and he is the builder.
 So here comes the fun stuff. Once the rod was disconnected we cut it to the correct length. We measured it with the size of our shade and also to the chandelier. We wanted some of the bottom to show.
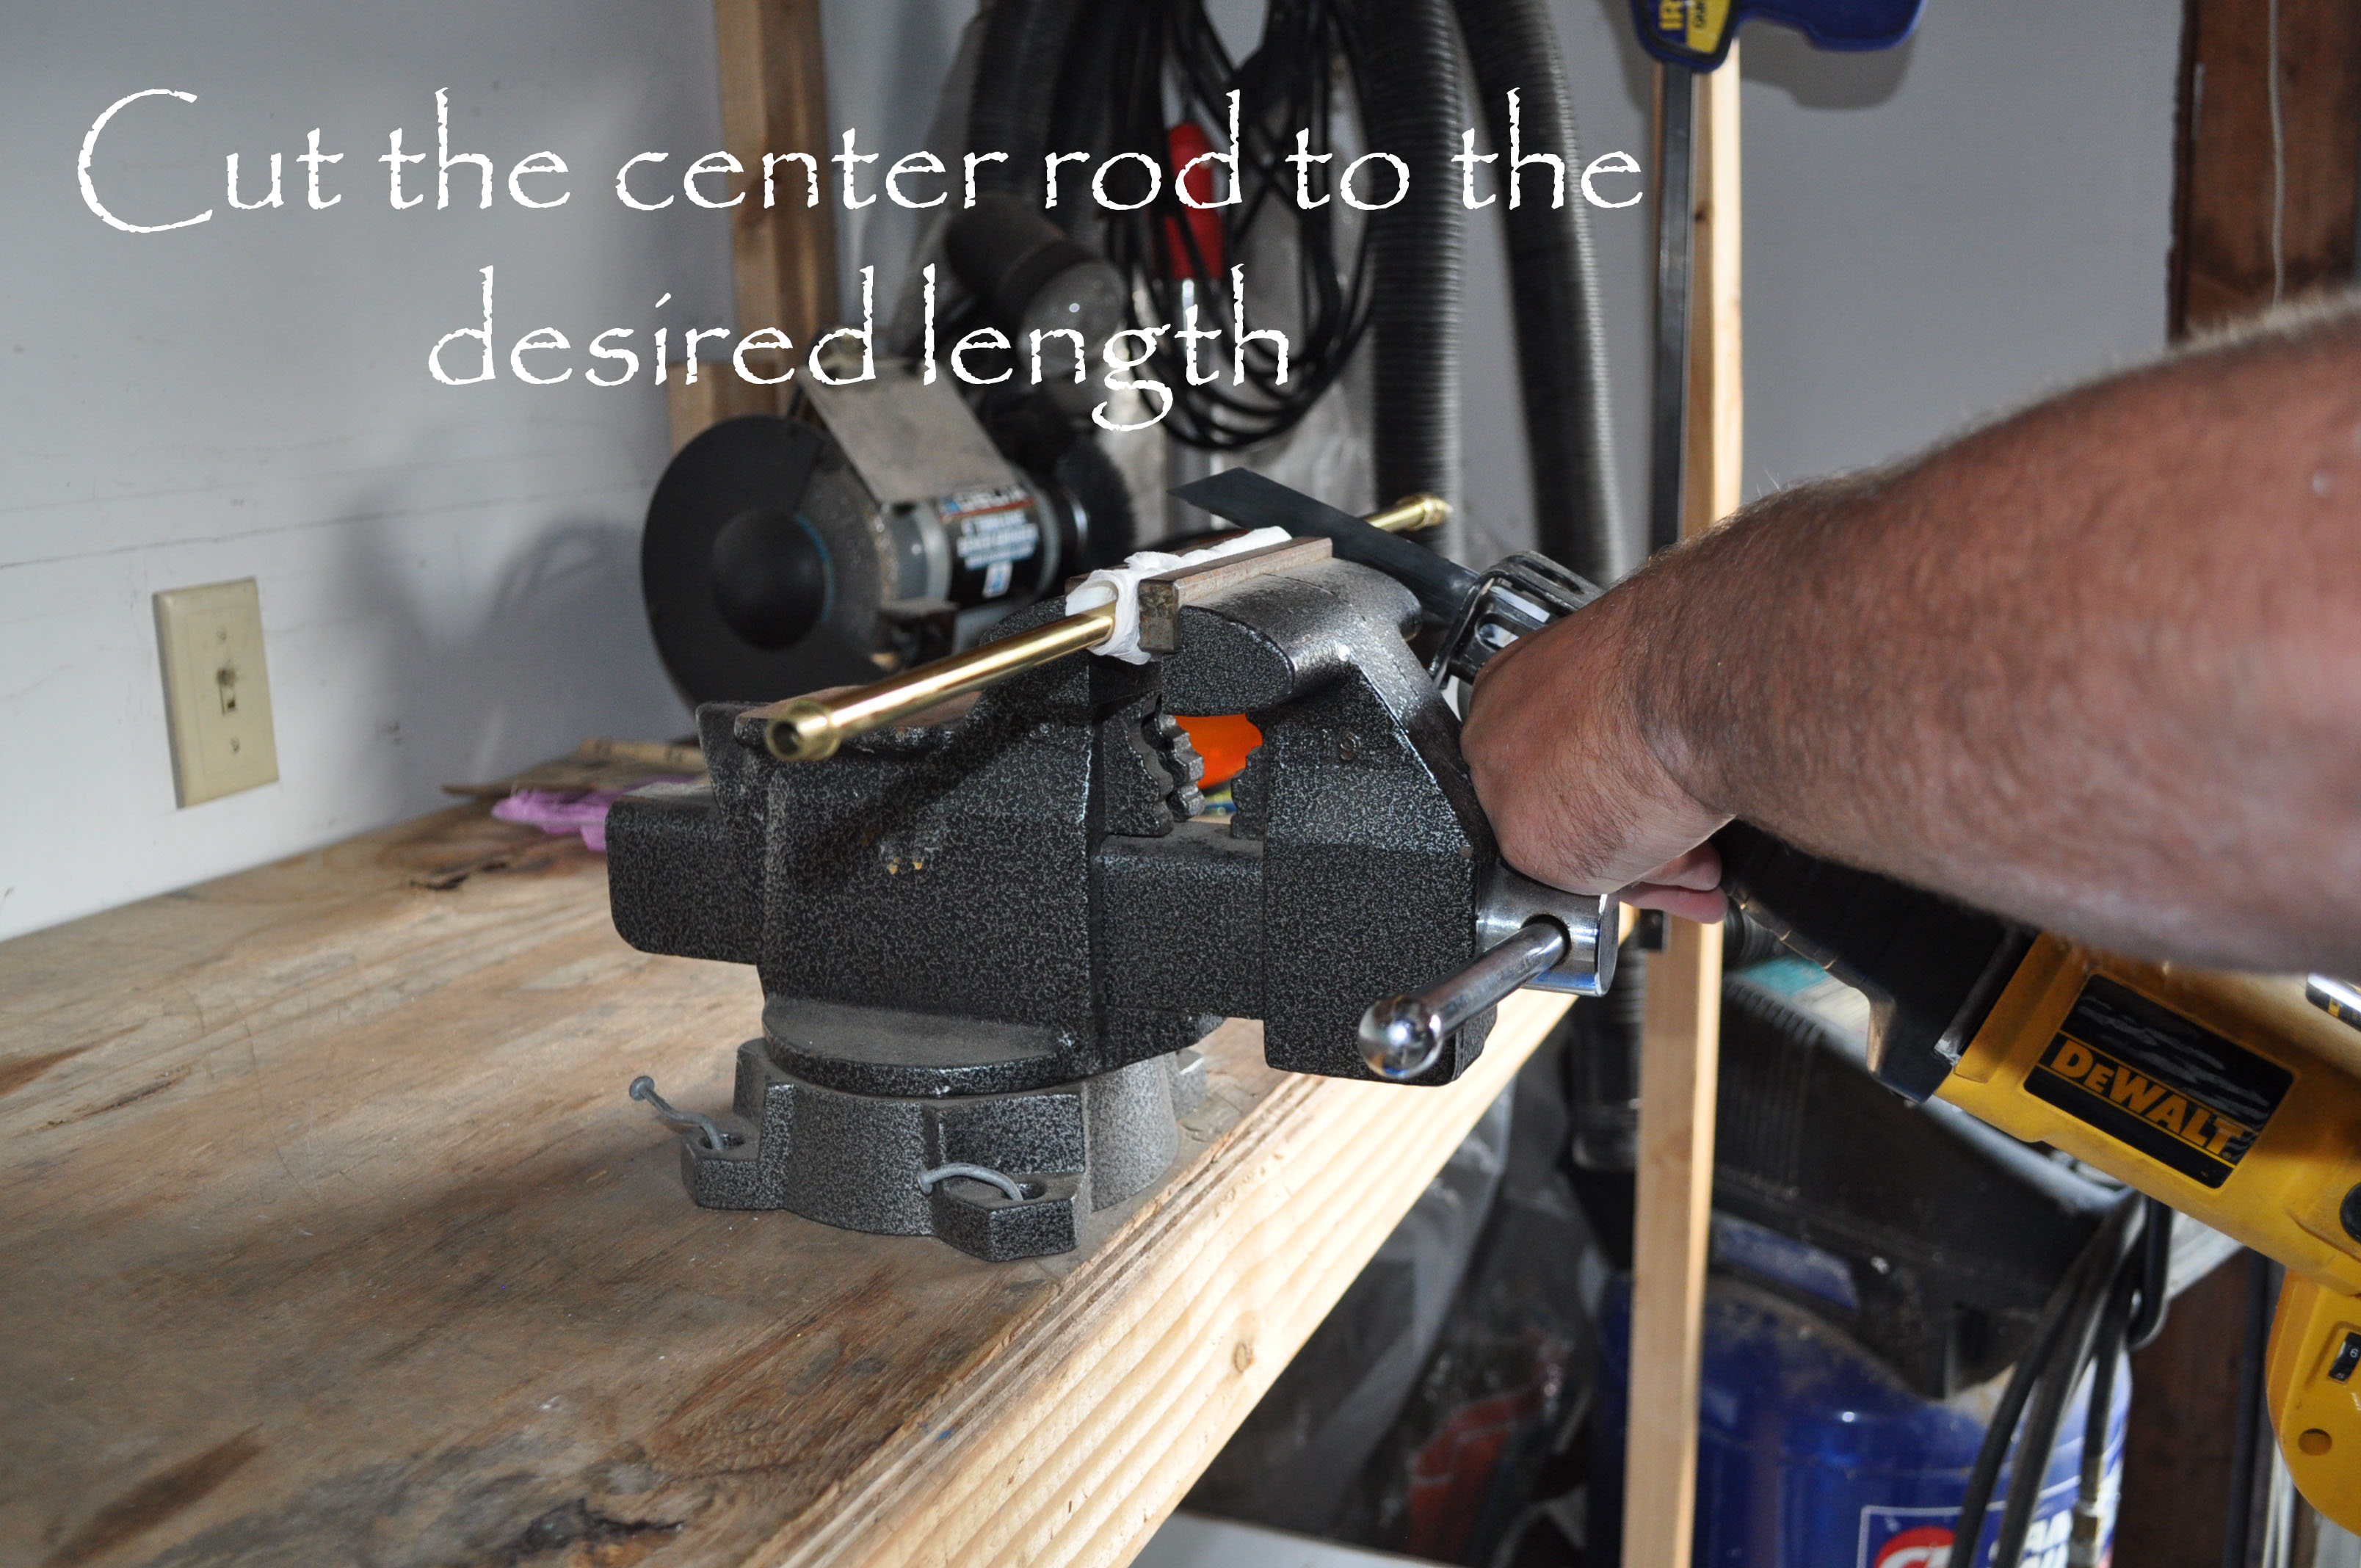 **A little Farm Boy City Girl tip: Go to your local furniture stores for shades. Sometimes they have leftovers that are pretty and unique.
After the rod was cut, the thread for the bolt and top was now gone so we needed to make a new thread. Farm Boy has a tap and die set and I learned way too much about tap and die with this project. The tap is used for the nut (which we didn’t need for this project) and the die is used for the screw. Just wanted to throw that out there!
 Now I realize not everyone has a Farm Boy handy but I believe Ace Hardware will do this for you for a few dollars. We made sure the thread (die) was deep enough for the stopper nut, shade and top finial to all screw back on.
We put the rod back on the fixture and prepared it for paint (ORB). I like to use tinfoil to cover the parts you don’t want painted. It covers it perfectly and stays on.
 Do you like my fancy paint booth?
 This is how it got assembled.
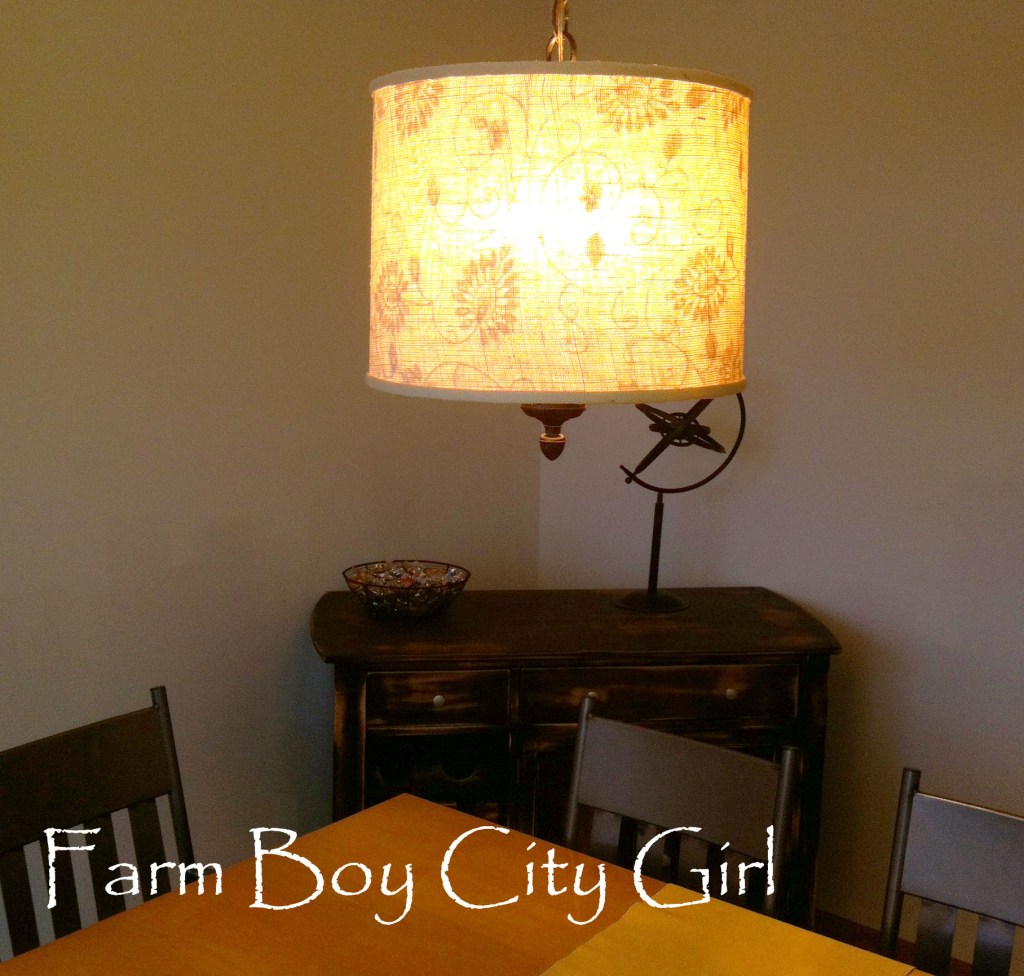
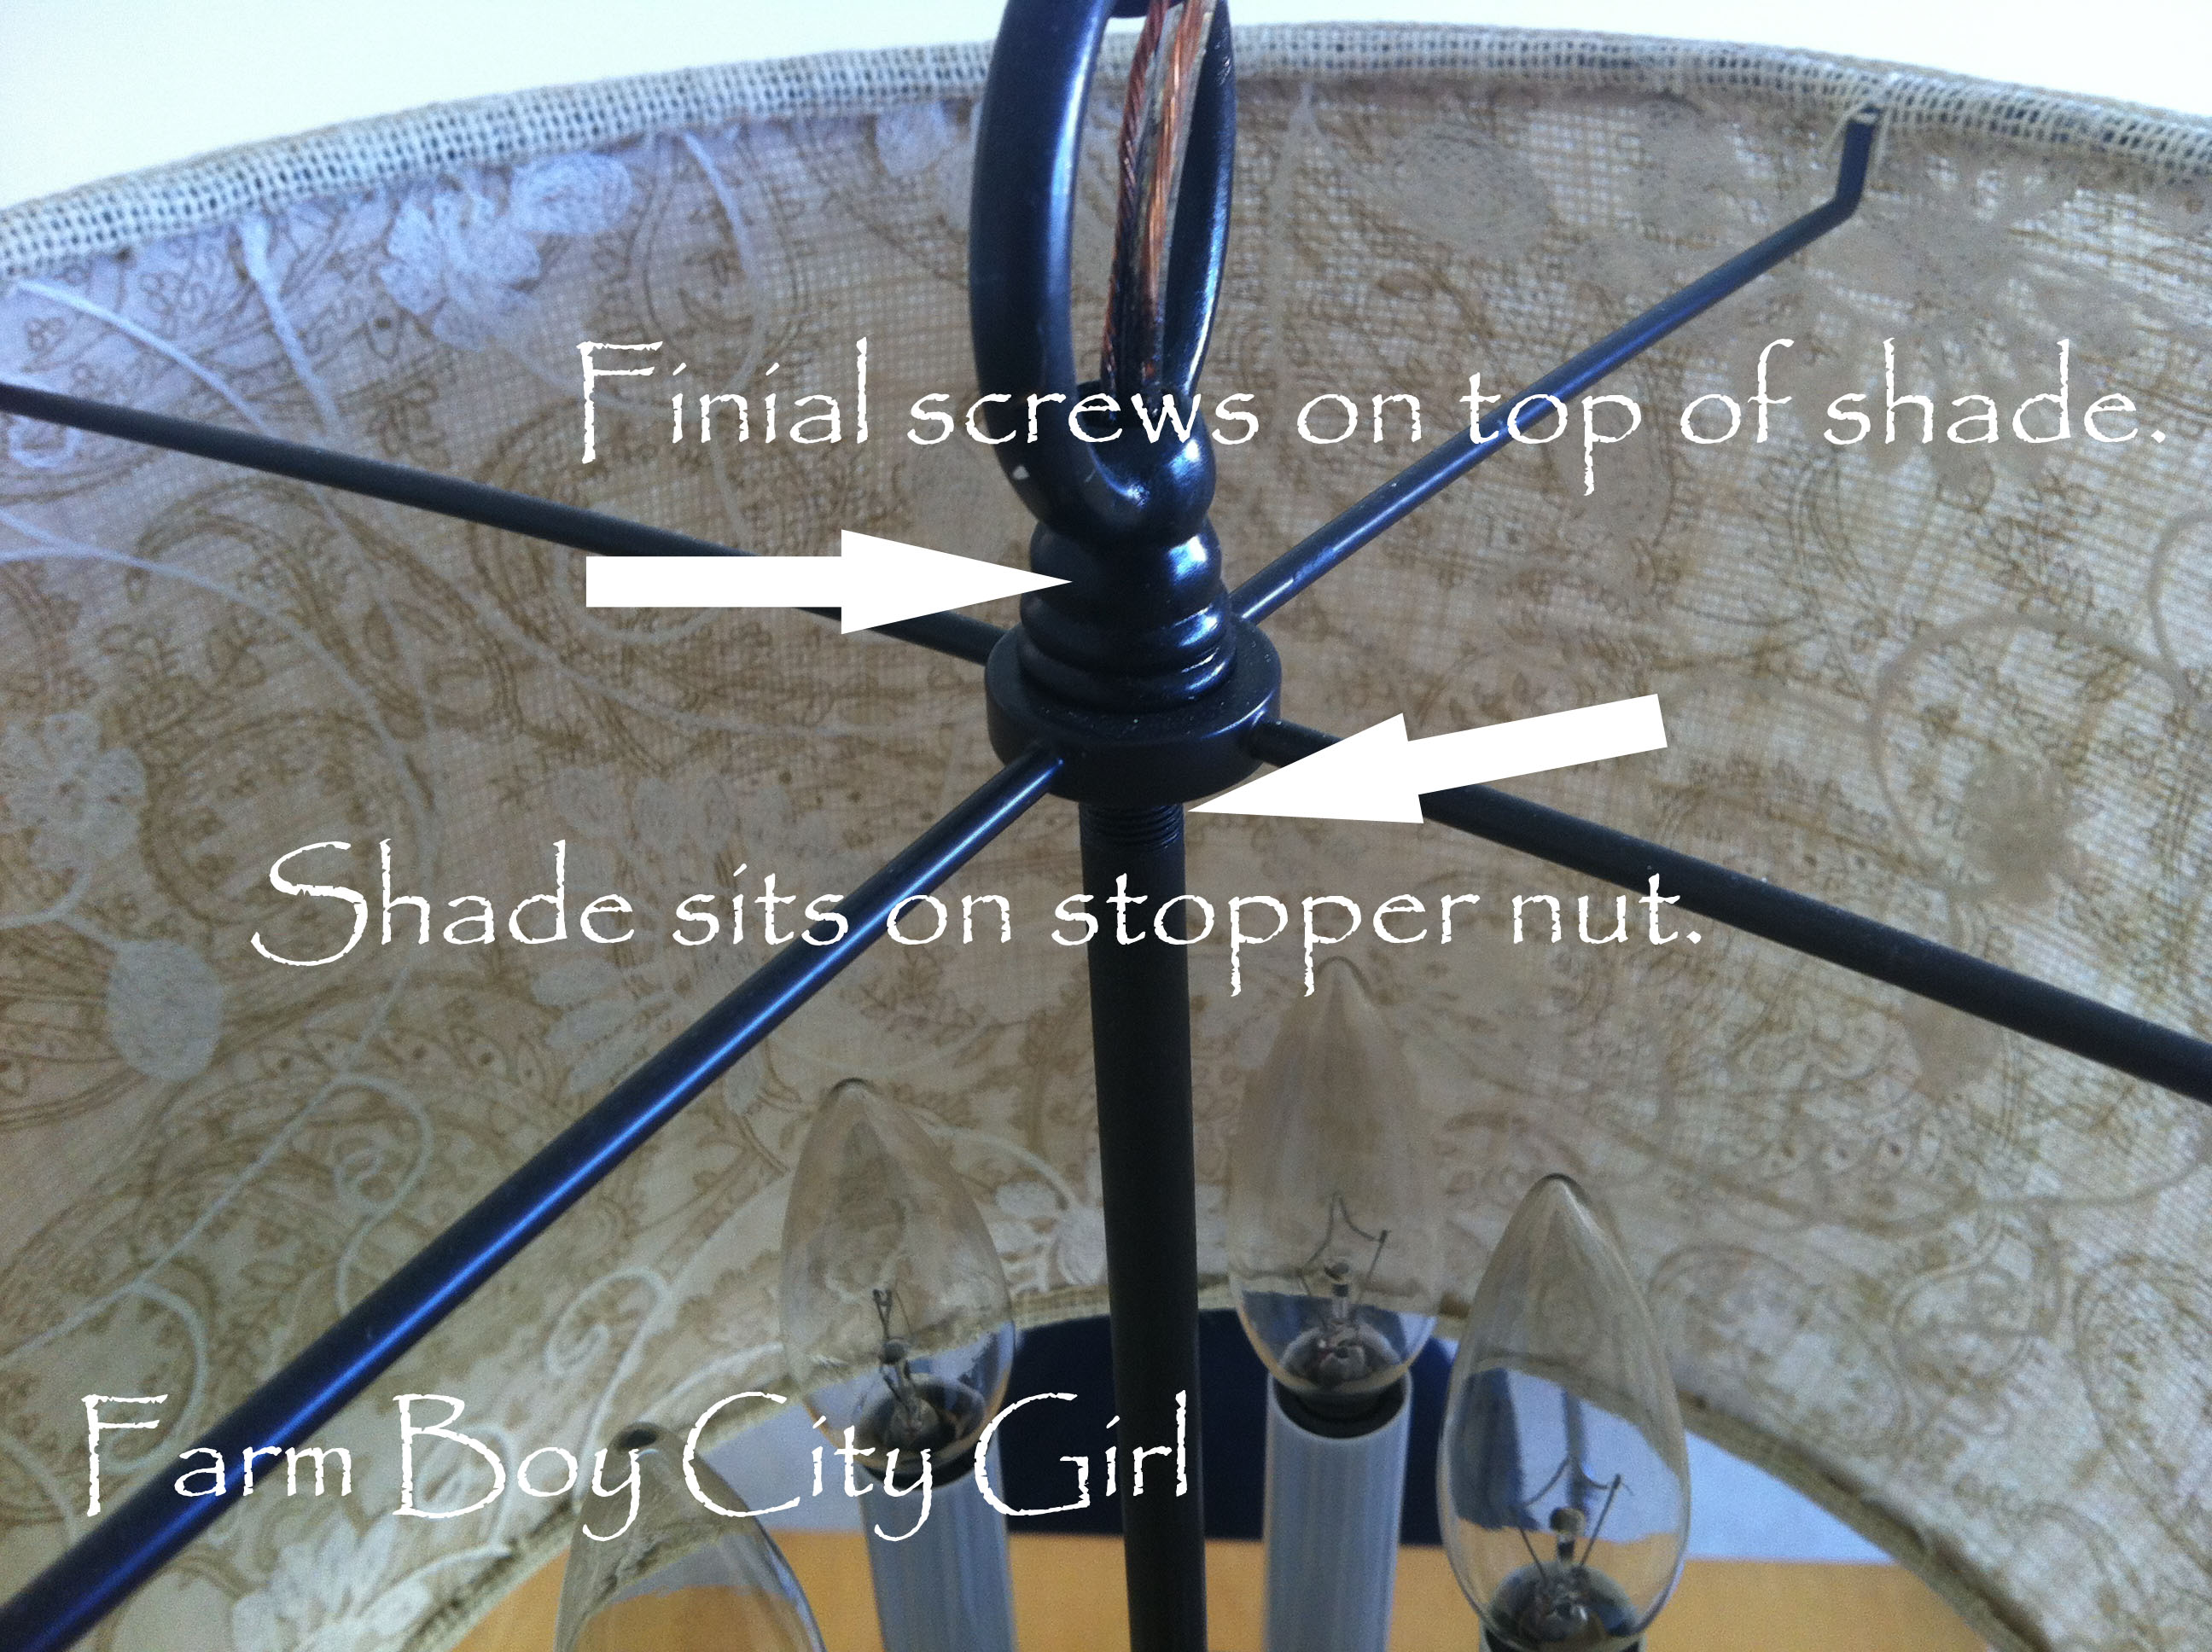 This is what it looks like looking up at it. We found a really pretty shade with a lot of detail. It is beautiful when the light is on.
 The final fixture! We didn’t make a shade or have to buy a light kit. We re-used an old fixture, painted it and purchased a shade. That was it.
 See our cute rustic bar in the corner? I’ll show you that later.
 Love, Love, Love it! Keep your eye out for ugly fixtures. You never know what they could be turned into.

Leave a comment